West Coast Brewer Home Brewing Blog

Category: How to

How to Dry Hop Beer and Homebrew


How to Dry Hop Beer

How to Dry Hop Beer


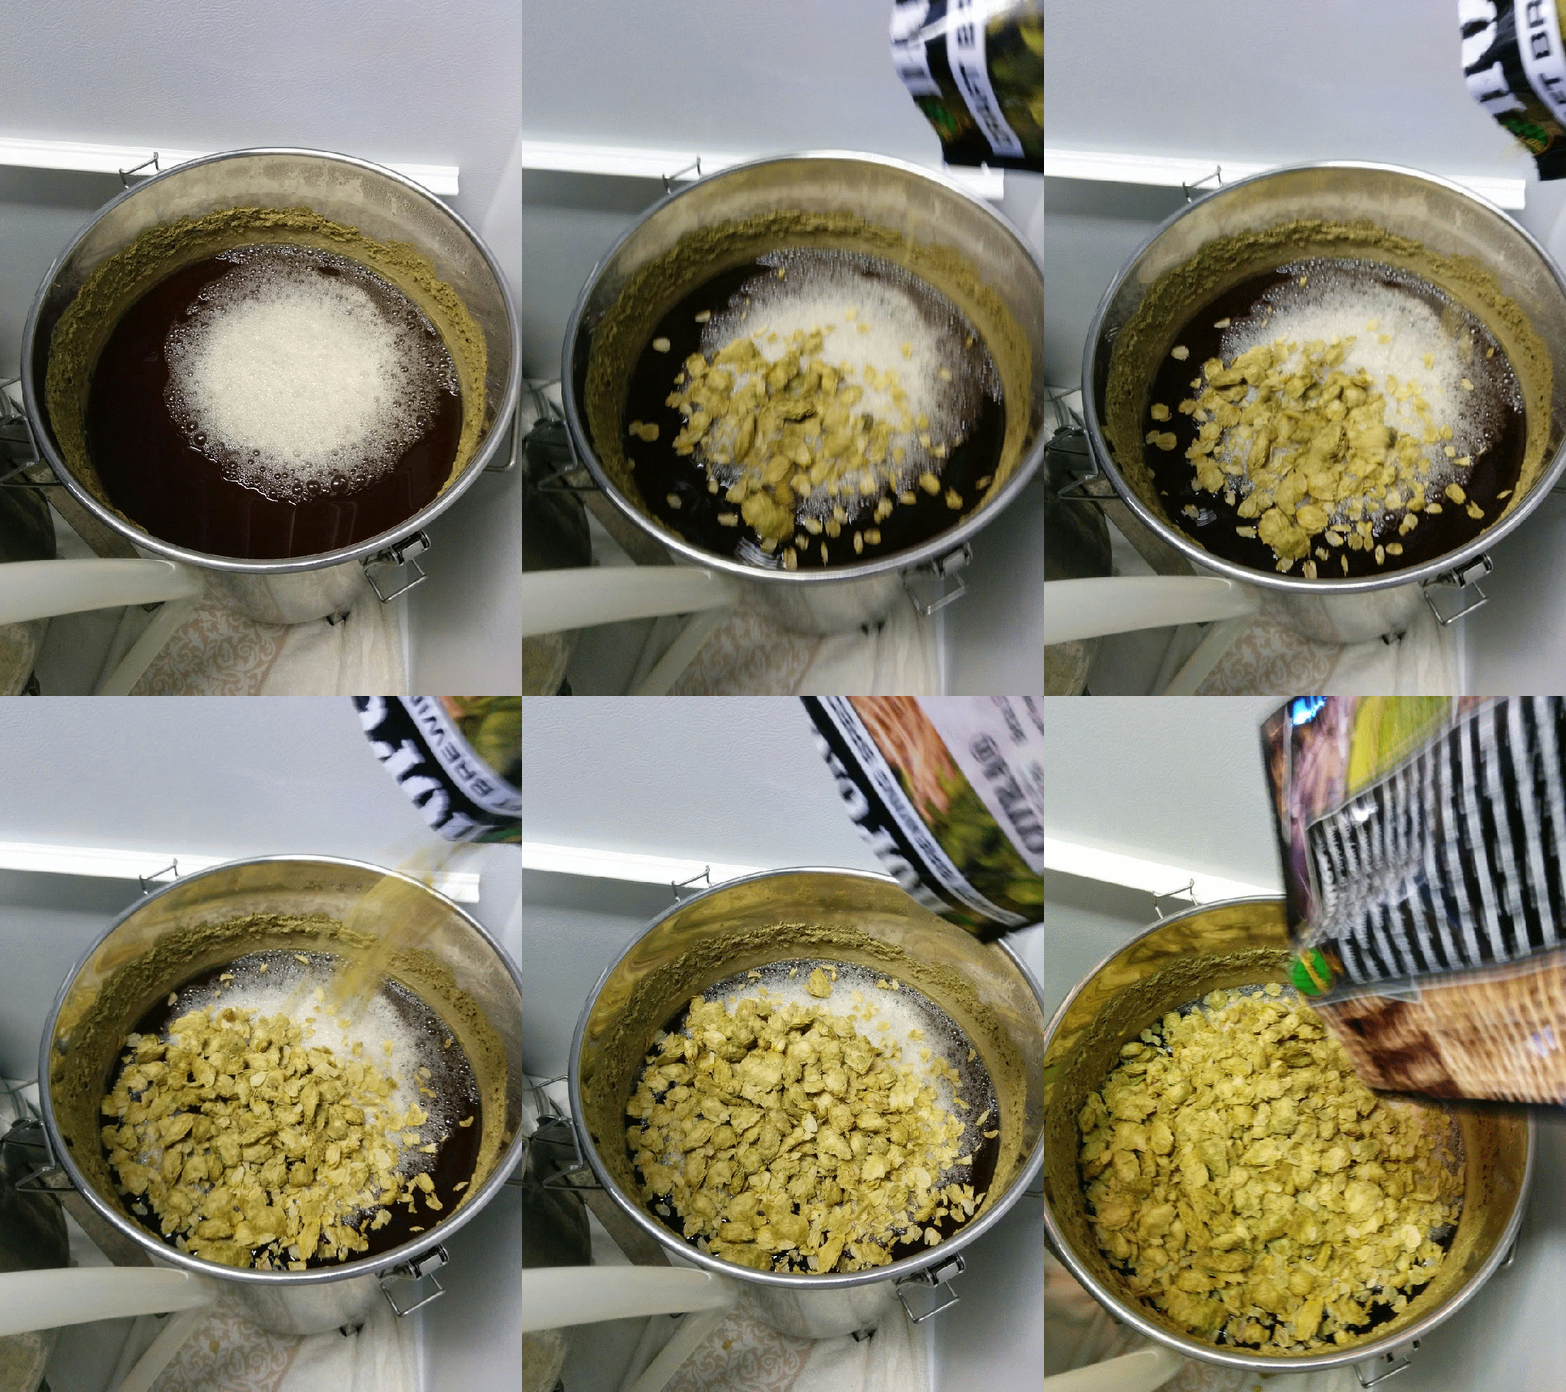
Dry hopping your beer is one of the easiest ways to make a good beer great and is supper simple to do!  At this point I dry hop any Pale Ale or IPA that I brew. It does not make the beer more bitter but instead gives the impression of hoppyness and freshness with fragrant hop aroma. To dry hop your beer, wait until fermenation has completed and CO2 is no longer being generated.  The reason for this is so that the escaping CO2 does not carry away the hop aroma with it because you want those odors to stay in contact with the recently fermented beer.  I use either whole hops or pellet hops for dry hopping but prefer to use whole hops if available.  Depending on the beer I will add between 2oz to 6oz per 5 gallon batch ( I typically go with 2oz, but my Pliny the Elder recipe calls for 5oz). I leave the hops in contact with the fermented beer for approximately 5-7 days and then either transfer to keg or cold crash for another 2 days.  The process is that simple and I encourage you to try it on your next hoppy beer batch.  When you pour your first pint focus on the aroma and if possible compare it to a batch of homebrew that you did not dry hop to see the difference!


Yeast Starter Directions

Yeast Starter Directions

How to make a yeast starter

Yeast Starter Directions


Here are some simple and easy to follow instructions on how to make a home brewing yeast starter:


1. Take your packet, pouch or vial  of yeast out of refrigerator and allow to warm to room temperature.  A temperature of between 70F and 80F is ideal.

 
2. Add 1/2 quart and 1/2 cup of DME to a sufficiently sized Erlenmeyer borosilicate glass flask. That mixture will create an approximate original gravity of 1.04. If available and desired, add in a yeast nutrient such as Fermaid K. Allow the DME and water to boil for 10 minutes.
 

3. Remove the flask from the heat source and cover the flask opening with aluminum foil. Place the flask in an ice bath to cool. You can swirl the flask in the ice bath to help the liquid cool more quickly. Remove the flask from the ice bath once it has reached room temperature.

 
4. Sanitize the yeast vial or packet and then pour its contents into the flask. Cover flask with aluminum foil or a sanitized foam stopper. If you are using a stir plate, also add your sanitized stir bar and center it in the flask.


5. Place the flask somewhere that is consistently warm, between 68F and 80F.  Wrap the flask in a towel to shield it from sun light if needed. Swirl your flask as often as possible or use a magnetic stir plate to help maximize cell growth.


6. If desired, after 24 hours, you can chill the starter overnight in the refrigerator allowing the yeast to flocculate.  You may then pour the starter solution off of the yeast bed so that only the yeast will be pitched.


7. Utilize the yeast started within 12 to 48 hours of creating it.


Flasks, stir plates, yeast and yeast supplies can be purchased here!