West Coast Brewer Home Brewing Blog

Tag: dry hopping

Dry Hopping My Hazy IPA


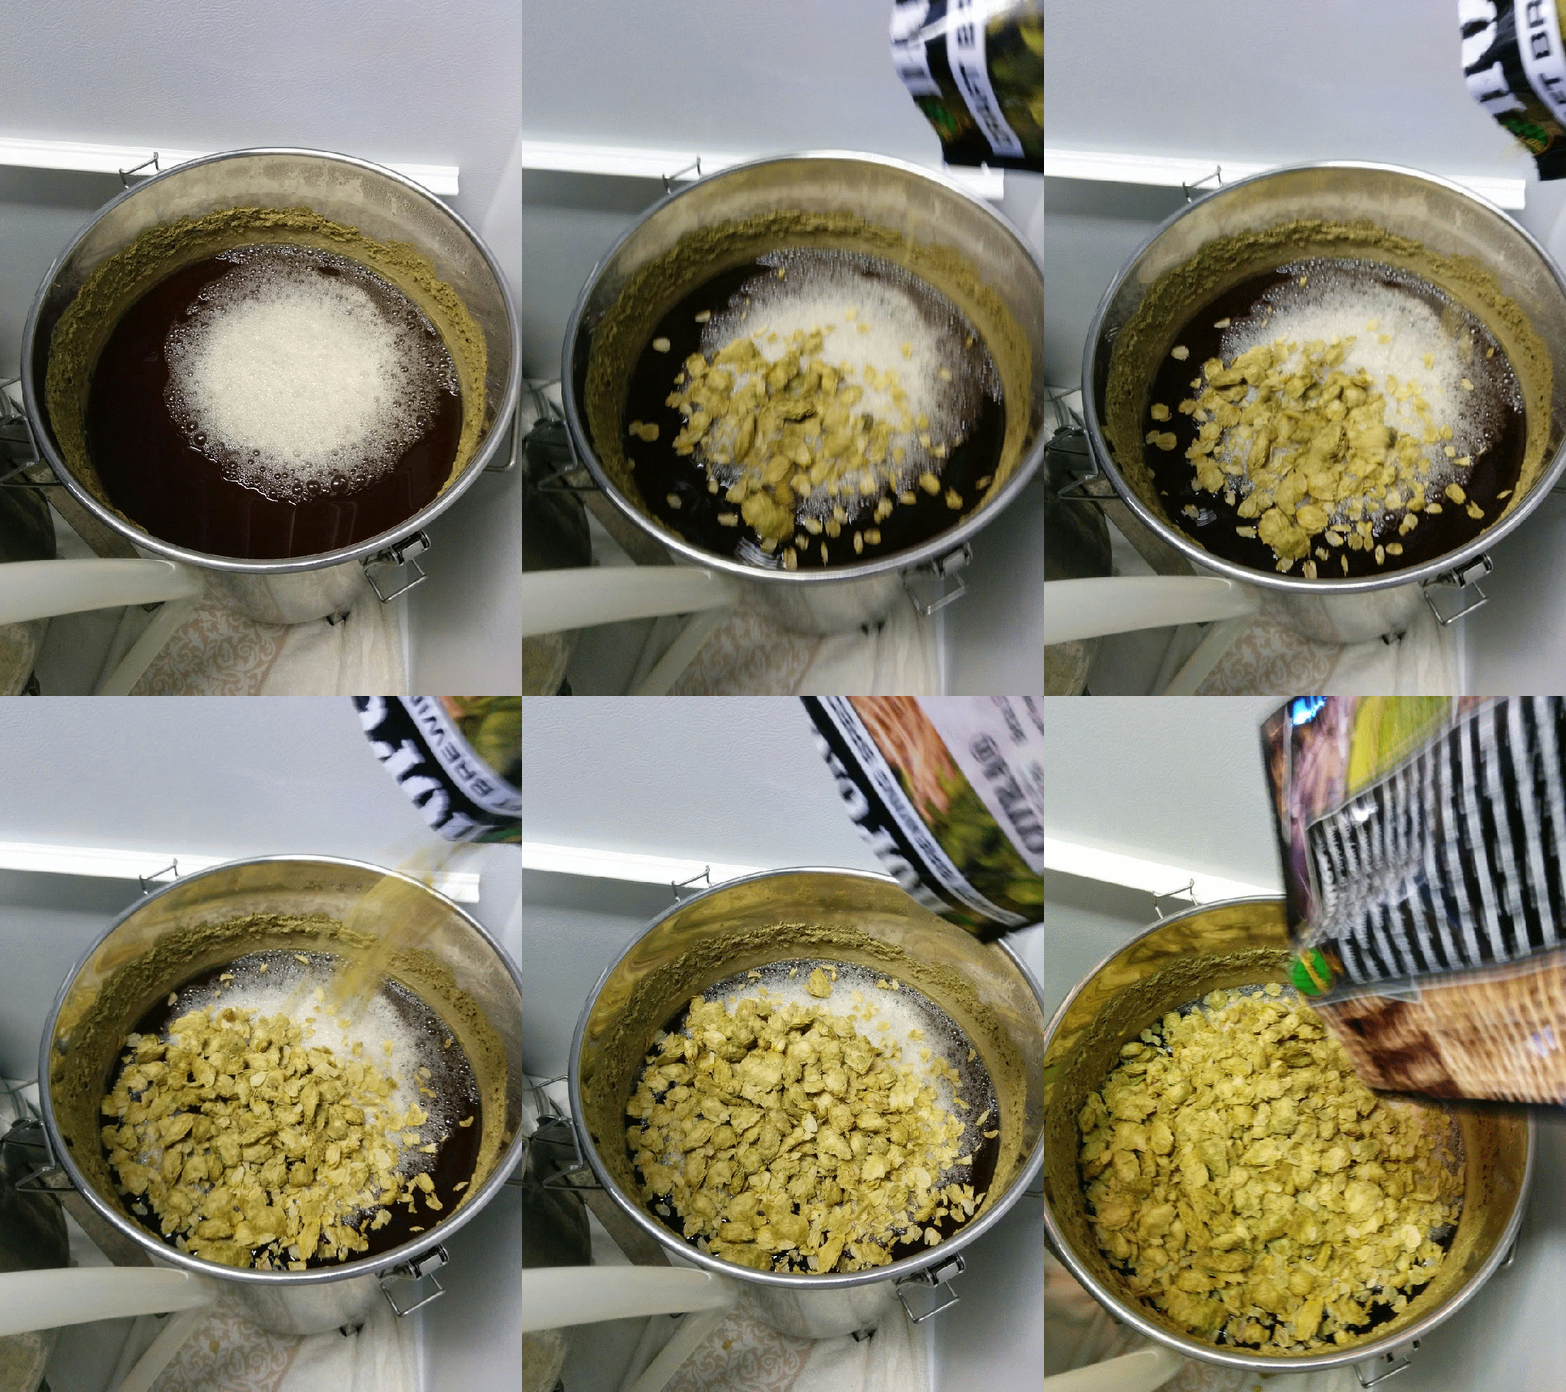
I added my first round of dry hops to my new Hazy – New England style IPA.  As opposed to adding the hops to the beer after the fermentation has completed which is typically for a West Coast style IPA, with a Hazy you add it early in the fermentation; in this case after 3 days.  I will do a second round of dry hopping at day 7 of the fermentation as well. At this point I added 2 ounces of Mosaic hops and 1 ounce of Citra hops.  The fermentation chamber is smelling incredible to say the least!

How to Dry Hop Beer and Homebrew


How to Dry Hop Beer

How to Dry Hop Beer


Dry hopping your beer is one of the easiest ways to make a good beer great and is supper simple to do!  At this point I dry hop any Pale Ale or IPA that I brew. It does not make the beer more bitter but instead gives the impression of hoppyness and freshness with fragrant hop aroma. To dry hop your beer, wait until fermenation has completed and CO2 is no longer being generated.  The reason for this is so that the escaping CO2 does not carry away the hop aroma with it because you want those odors to stay in contact with the recently fermented beer.  I use either whole hops or pellet hops for dry hopping but prefer to use whole hops if available.  Depending on the beer I will add between 2oz to 6oz per 5 gallon batch ( I typically go with 2oz, but my Pliny the Elder recipe calls for 5oz). I leave the hops in contact with the fermented beer for approximately 5-7 days and then either transfer to keg or cold crash for another 2 days.  The process is that simple and I encourage you to try it on your next hoppy beer batch.  When you pour your first pint focus on the aroma and if possible compare it to a batch of homebrew that you did not dry hop to see the difference!


Dry Hopping Your IPA

How to Dry Hop Beer

How to Dry Hop Beer


Lately, with the trend of craft breweries moving towards ultra hoppy, high IBU IPA’s; home brewers need to be on their game if they want their home brewed beer to stand up to what the breweries are releasing. One of the greatest advantages that a home brewer has over a craft brewery is freshness.  As beer ages the potency of hop bitterness and aroma diminishes and that is accelerated by heat and oxidation. Since a home brewer does not need to contend with their beer sitting in a hot warehouse during distribution or having the sun beat down on their bottles in a stores showcase, you should do your best to take advantage of your beers freshness.  Always do your best to store your beer in a cool dark place if possible.


Whole Citra Hops

Whole Citra Hops


Another way to make the most of your IPA’s freshness is to dry hop.  The reason a brewer dry hops their beer is to impart the beer with fragrant and fresh hop aroma.  Since the beer is cool when the hops are added, the oils from the hops will not be infused with the beer and they will pass on little to no bitterness. Dry hopping is typically conducted once primary fermentation has completed and the hops are typically left in contact with the beer for between 7 and 14 days.  The hops are usually added after primary fermentation has completed so that less CO2 is being produced and the hop aroma can stay in contact with the beer as opposed to being carried out of the fermentor with the escaping CO2.  I personally like to use whole hops for dry hopping, but pellet hops can be used as well. When the beer is ready to be transferred to a keg or bottle, the beer is siphoned as normal and the hops are left behind in the fermentor to be discarded.  I typically add about 2 ounces of hops for every 5 gallons of beer, but more can be added if desired.

Hopback

A hopback or hop back is a small hop-filled vessel, typically made of copper or stainless steel, that is placed between the brew kettle and wort chiller, or brew kettle and fermentation chamber. It is highly recommended that you place the hopback between the brew kettle and chiller if an external chiller is being used.

If the beer is chilled, then the wort flowing over the hops will be far less effective at extracting the resins and oils from the hops. If the temperature of the wort is under 170° F, the alpha acids will not isomerize, and no bitterness will be imparted on the wort. The aromas extracted from the hops will be diminished as well.

Whole hops are typically recommended or required for using most hopbacks, as pellet hops are more prone to clogging, and a good deal of the particulates from pellet hops will end up in your fermentation vessel. In addition to adding hop flavor and aroma to your wort, a hopback is also a valuable tool to filter the hot break and or cold break from your brew kettle to your fermenter. As the wort passes through the hopback, the hops will work as an organic screen, capturing many of the larger protein and particulate masses that enter it.


Below is the Blichmann Hop Rocket that I use when a hopback is needed for one of my beers.

Home Brewing Hopback / Hop Back, Blichmann Hop Rocket

Home brewing hopback/hop back, Blichmann hop rocket