West Coast Brewer Home Brewing Blog

Tag: review

Pliny the Younger Review

Pliny the Younger, if you are not familiar with it, is one of Russian Rivers most elusive beers and by many, considered to be one of the worlds best examples a West Coast IPA \ Triple IPA. Many of you may be familiar with Pliny the Elder. Well,  Pliny the Younger is the Elder’s bad ass offspring. Where Pliny the Elder is a double IPA clocking in at 8% ABV, Pliny the Younger is a tripple IPA with an ABV of 10.25%. Pliny the Younger is not sold in bottles, you can not get a growler of it, and to make things worse it is only distributed by keg to a limited number of breweries; most of those are located in California. Ohhhh and did I mention that they only brew it once per year? The good news for me is that one of my local breweries, Tustin Brewing Company, out of Tustin, California is one of the distribution points in California for Russian River beer and Pliny the Younger. That being said, I have been trying to get the beer for 8 years now and not until yesterday had I succeed. The problem is that as it turns out, I am not the only person interested in having a glass. Every year at about this time the Tustin Brewery celebrates Russian River week! They bring in a wide array of Russian River beers including some of their most prized sour and wild beers like Consecration and Supplication. They also offer some of Russian Rivers best pale ales and IPA’s like Blind Pig and Pliny the Elder; but the crown jewel is Pliny the Younger. In order to secure yourself a pour of Pliny the Younger, you must line up in the parking lot at approximately 9-10:AM on a Wednesday morning.  If you are one of the approximately first 70 people in line, you are provided with a wrist band that will entitle you to a 8 oz pour of Pliny the Younger once the brewery opens at 11:AM.  Unfortunately for me, I have a job with a not so flexible work schedule that has not allowed me to take the time off for this event. This year was no different. As my hopes had all but faded, the Tustin Brewery sent out a tweet late yesterday afternoon.  It turns out that they received not 1 but 2 kegs of Pliny the Younger this year. If you were one of the first 70 to claim a ticket, and could reach the brewery by 6:PM, you could receive a pour from their 2nd Pliny the Younger keg. The process was a little confusing, and I was not certain that I had properly claimed my ticket, so I raced to the brewery. It felt as though I was competing in some form of craft beer Olympics. I had to accomplish a variety of tasks, and only the fastest participants would receive the prize.

When I finally arrived at the brewery, the parking lot was a mad house. It was packed with beer lovers and moms dropping off kids with colorful belts to Taekwondo practice. I drove to the furthest reaches of the parking lot and found one of the only available parking spots. It was hidden away behind all the buildings far from the brewery. I speedily walked towards the Tustin Brewery entrance with other middle aged men all thirsty for a taste of this rare beer. I narrowly avoided being struck on the sidewalk by a man apparently not familiar with how to park his over sized truck in a sub compact parking space; I was almost to the door. This was clearly one of those situations where nobody was going to hold the door open and let you go in ahead of them. I entered the brewery behind a chubby man who was huffing and wheezing from his long brisk walk from his parking space. The brewery was packed and energized with the voices of hundreds of patrons reveling in the atmosphere and drinking their beers.

At first I was a little overwhelmed. Trying to take it all in, I thought to myself; shit, this is a lot of people, how do I get my Pliny the Younger and I hope this ticket thing worked. Thankfully a couple of the girls who work at the brewery, Krystle and Rachel were kind enough to help me figure out where to go and what to do. I proceeded to go to a table where they verified my name on their list, collected my cash and provided me with a red ticket!

Pliny the Younger Beer Ticket

Pliny the Younger Beer Ticket

From there I was directed to a sign hung high on the wall of the brewery near the bar exclaiming  “Redeem Ticket Here, Pliny the Younger, Tustin Brewery Loves You”! I walked through the crowded bar, and stood behind another man as we waited for them to tap the Pliny the Younger keg and begin serving. Finally I could begin to relax; my beer was nearly in hand.  I heard one pub patron complain about Russian River Week as he awkwardly tried to move around the crowded bar to get a refill of his mug with Golden Spike Blonde Ale. He was clearly not impressed by the rare keg that was now being connected just feet from him. Others were just happy that Friday was upon us and that there were so many hard to find and great beers available this week. I stood silently, waiting in anticipation.  Finally, after 8 years, the moment had arrived. The man in front of me, received his Pliny the Younger and it was my turn.  I handed the bartender my ticket and he pulled back the tap handle, like some form of epic beer slot machine and filled my glass!

Pliny the Younger Animated Gif

Pliny the Younger Animated Gif

I grabbed my beer securely and began to walk to the patio. I took a quick sip; just in the off chance that an earthquake would strike and cover me in falling beams, I was at least going to get one mouthful of Pliny the Younger first! I did my best to move through the brewery, avoiding the mobs of people and avoid spilling even a drop of this rare and special beer. Thankfully there was no earthquake, but there was Juan. Juan is one of the best things about the Tustin Brewery, he is always wearing a smile, cracking a joke and slapping you on the back with the strength or Hercules and Oden combined as his way of saying, great to see you, let me rearrange your vertebrae for you. As he turned and saw me approaching, I remember thinking f#&k, here comes Juan.  A smile came to Juan’s face and I knew exactly what was next. I grabbed my Pliny the Younger as securely as I could with both hands; all I could do was hope that the collateral damage would not be too severe. WHAPPP, the shock of Juan’s hand on my shoulder sent reverberations down my arm, to my elbow and finally to my hands.  As hard as I tried, I could not stop the glass from bucking. A small wave of the cold beer rolled over my hand and slapped the hard tile floor. Juan just smiled and laughed as he saw dismay form on my face. He was right, it was a little funny. After all, I still had a nearly full glass and this was a time for celebration. After saying hello to Juan, I quickly made my way to the patio before he could shake any additional beer from my glass.

There was a small table available on the crowded patio; I set my beer down and took a seat.  This was it. I braced myself for disappointment. Recently I had watch the movie Dunkirk. I had heard so many wonderful reviews and yet when I watched it I was left so disappointed. It looked great, but there was not much to it. Was Pliny the Younger going to be the Dunkirk of beer I wondered? 8 years is a long time to wait for something, I have had Pliny the Elder probably 40 times in that time period, was this really going to be any better? Often times, Triple IPA’s are terribly unbalanced and sometimes painful to drink, would that be the case with Pliny the Younger?


Pliny the Younger

Pliny the Younger Russian River Beer

I am not one of those people who likes over the top beer reviews. You are no going to hear me say things like it washed my taste buds with the pleasant essence of virgin pine drippings, or the mouthfeel is reminiscent of  water from pristine deep water brackish caves. So here it goes.  I rate Pliny the Younger a 100 out of 100. I was not let down in anyway. I had extremely high expectations and it exceeded every one of them. Pliny the Younger is hands down the most well balanced triple IPA I have ever had and more importantly the most well balanced beer I have ever had.  Simply put, it was perfect. This sounds a little lame as I write it, but the mouth feel was exceptional.  As I slowly drank it, trying to appreciate every sip, I analyzed it; wondering if they added salt to the mash and how much; what hops were in the boil and what did they dry hop it with. I wanted to make it or myself!  The volume of my glass kept being depleted with each taste and I just kept hoping I would not have to wait another 8 years for my next glass.  If you have the chance to get some, even if it will be a pain in the ass, in my opinion it would be well worth it.

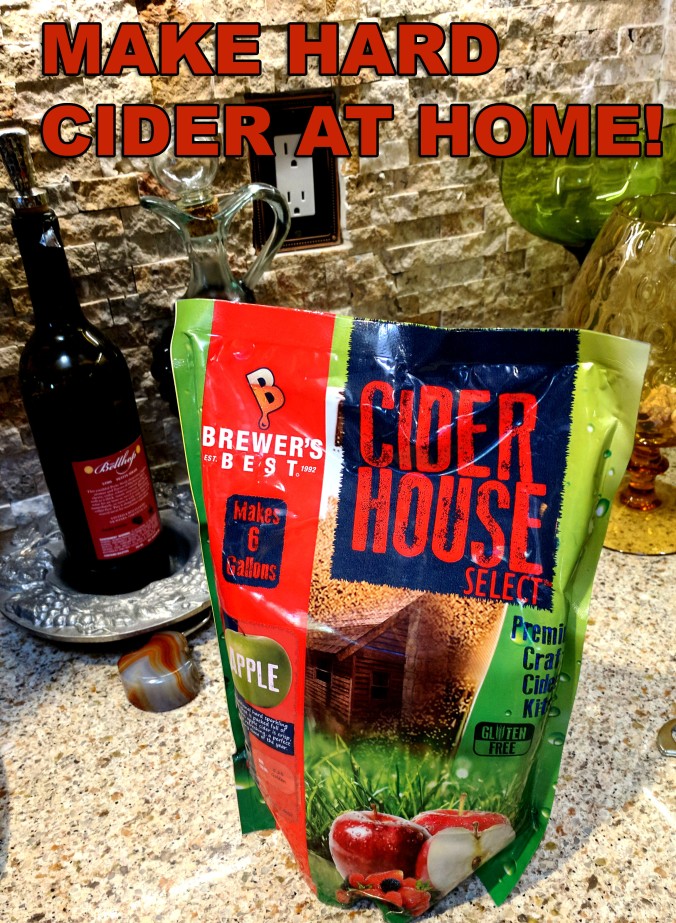
Making Hard Apple Cider At Home!

How to make hard cider at home #cider #brew #brewing #hard #howto

How to make hard cider at home #cider #brew #brewing #hard #howto

I have been an avid home brewer for over 8 years now and In that time I have probably brewed more than 70 batches of home made beer. I will always love beer and brewing it, but sometimes it is fun to trying something different. Not to mention, sometimes the different seasons of the year impact what my taste buds desire. With fall is upon us, I figured I would try brewing up a batch of hard apple cider and add a little diversity to my kegerator selection!


So I started to do a little research on home cider making, and just like home brewing, there are a few ways to go about making cider at home. Some methods are simple and others are a little more complicated and require more equipment. Since this is my first time trying my hand at home apple cider making, I figured I would keep it simple and use one of the home apple cider making kits that are available on the market. One of the great things about these home cider making kits is that they include almost everything you need to get started making your first batch of cider! One thing to be aware of is that most of the cider making kits that I checked out do require you to supply dextrose / corn sugar; so if that is the case with the kit you purchase, make sure you purchase some. You can also pick up optional items to personalize your home cider making recipe. For instance, I also decided to add some medium toast American oak cubes to my batch of home made hard apple cider to add a little additional complexity to my cider; it is not required to make a great hard cider but I think it will be a nice touch.


Here is a list of the items that I purchased for my batch of home made hard apple cider. You can click any of the links for more information or if you need to purchase any of the items:

1) Cider House 6 Gallon Home Cider Kit
(There are a variety of kits available, this was one I found at a good price)
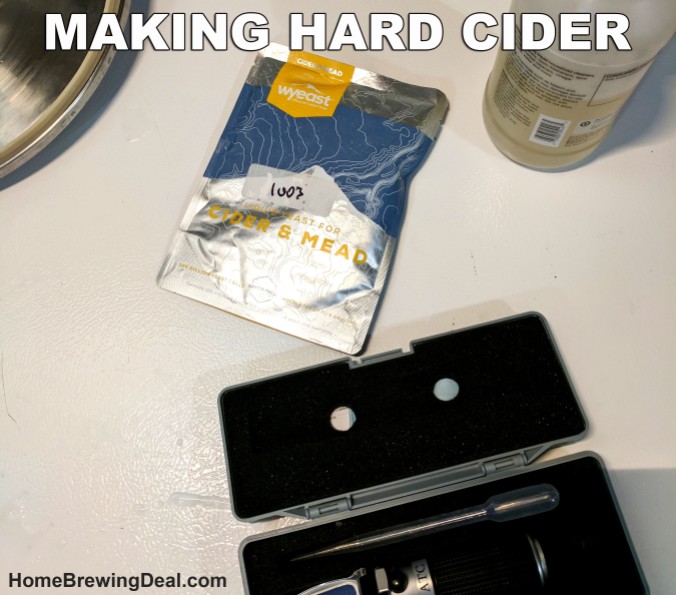
2) Wyeast Liquid Cider & Mead Yeast
(The kit actually comes with yeast, but I figured I would step things up a notch with some specialized liquid yeast)
3) Toasted American Oak Cudes
(Not required but should enhance the complexity of the cider)
4) 3 LBS of Corn Sugar / Dextrose
(The recipe called for 2 LBS but I like to live on the edge)

STEP 1 – Read Your Cider Making Instructions

I know it is boring and you just want to get started, but…. it is always wise to read all of your instructions and home cider making recipe first.  Sometimes your kit may not include all of the ingredients you need or you may be missing an import piece of hardware that you will need to make your cider and this is your chance to determine that before it is too late!  You will probably also enjoy the process more if you understand what it is that you are doing before you begin.  Now that we have have that out of the way, we can get down to business and make some hard apple cider!


STEP 2 – Boiling Water & Sugar

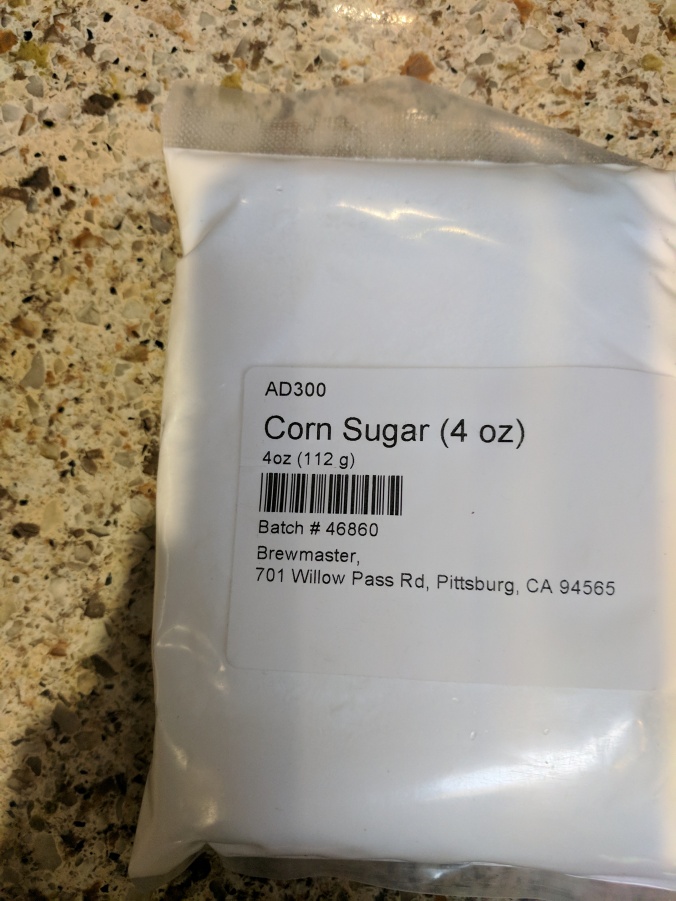
After reading all of the directions that were included with my home cider making kit, I was pleased to learn how simple the process was. Step #1 was to boil 1 gallon of water with the dextrose that I purchased. The dextrose that I used was actually initially purchased for carbonating beer, but since I almost always keg now, I decided it to put it to good use for my batch of home made hard cider!

Corn Sugar - Dextrose for making cider at home

Corn Sugar – Dextrose for making cider at home


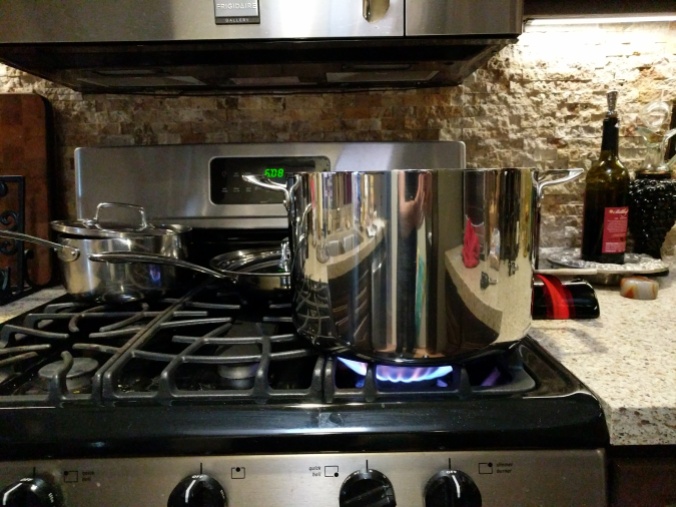
I used a large stainless steel kettle to heat 1 gallon of water.  Once the water was hot, I began to add the dextrose and slowly stir it.


How to make hard cider #cider

How to make hard cider #cider


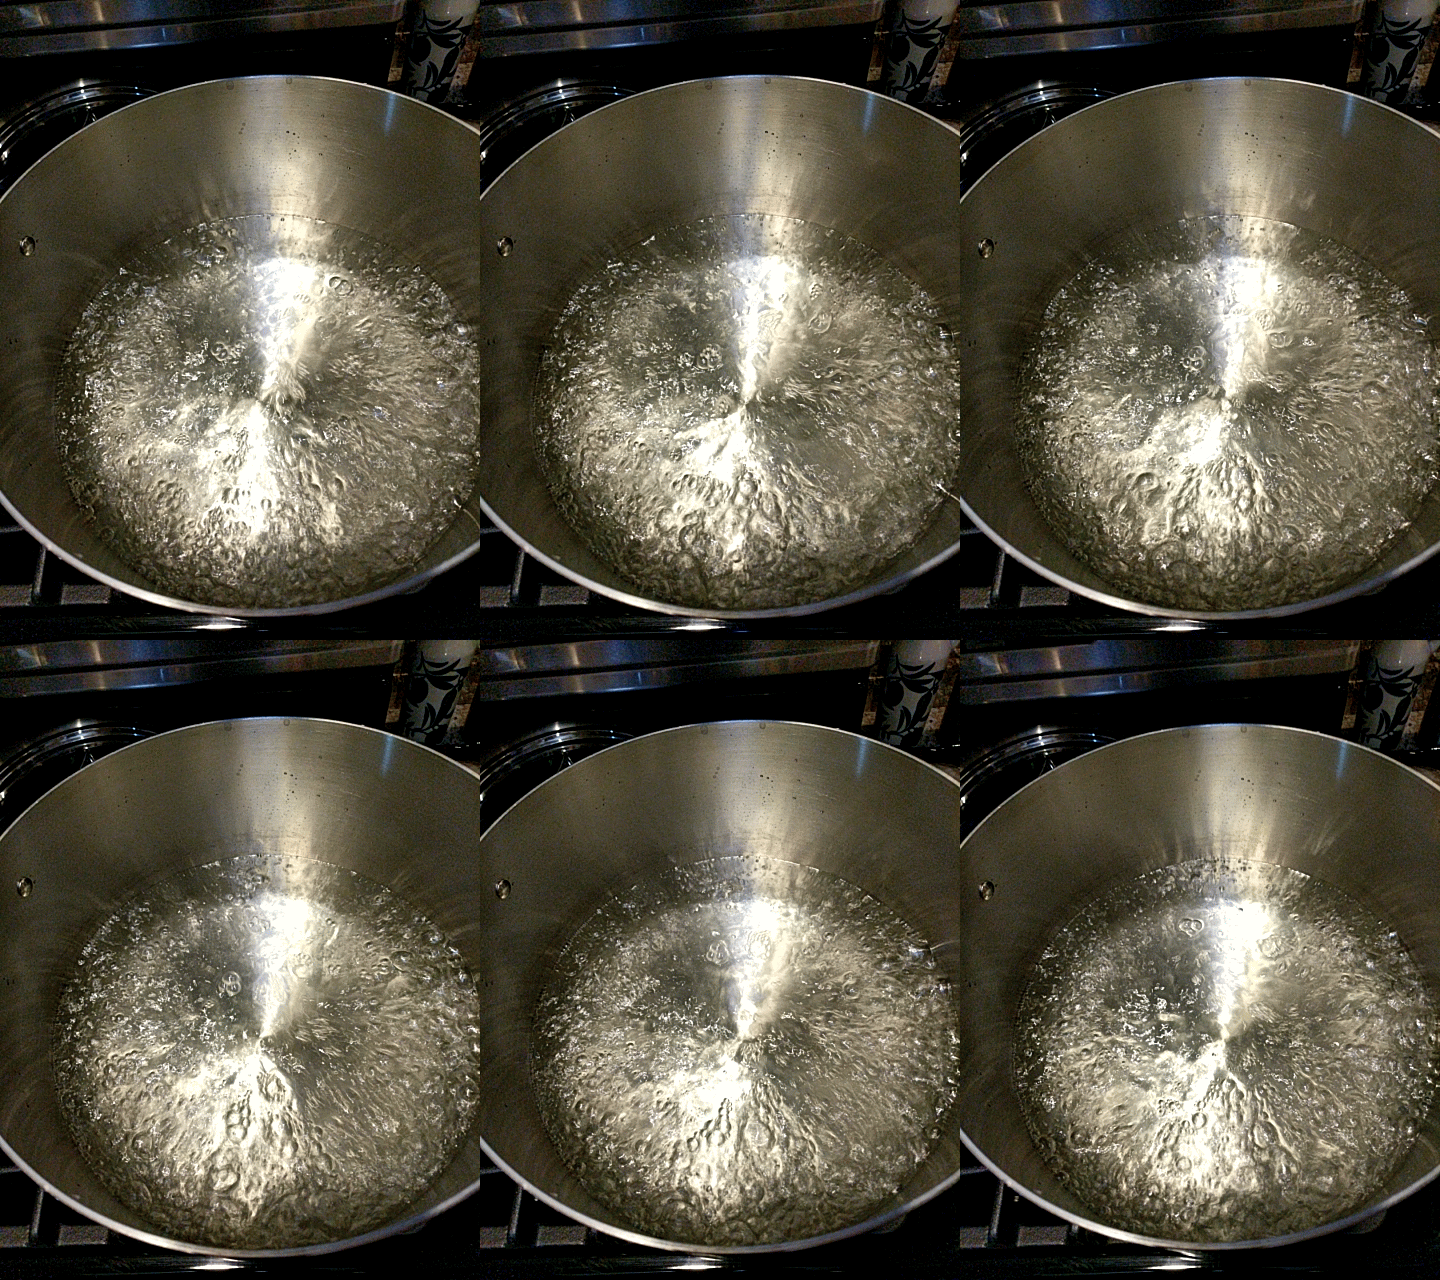
Make sure that you use a large enough pot to boil the water and dextrose. If the boil becomes to rapid, you can have a boil over and those are no fun to clean up!  I let my water and sugar boil for approximately 10 minutes and then turned the burner off. At that point your should let your water and dextrose solution cool down.  You can either let it sit in an ice bath with a lid covering the kettle, use an immersion chiller or add some ice to the kettle; just be careful to keep everything sanitary.


Animated Cider Making Gif

Animated Cider Making Gif

STEP 3 – Clean, Sanitize & Prepare Your Fermentor


Just like home beer and wine making, cleanliness and sanitization are critical to making great cider! At this point you will want to make sure that you clean and then sanitize anything that will come in contact with your cider or water dextrose solution! Both the water and apple cider concentrate are loaded with sugars and any bacteria or wild yeast strains lurking about would just love to get hold of it! So make sure you sanitize your fermentor and any implements that will come in contact with your home made cider.  I recommend Star San, but you can use any odorless and tasteless food grade sanitizer.


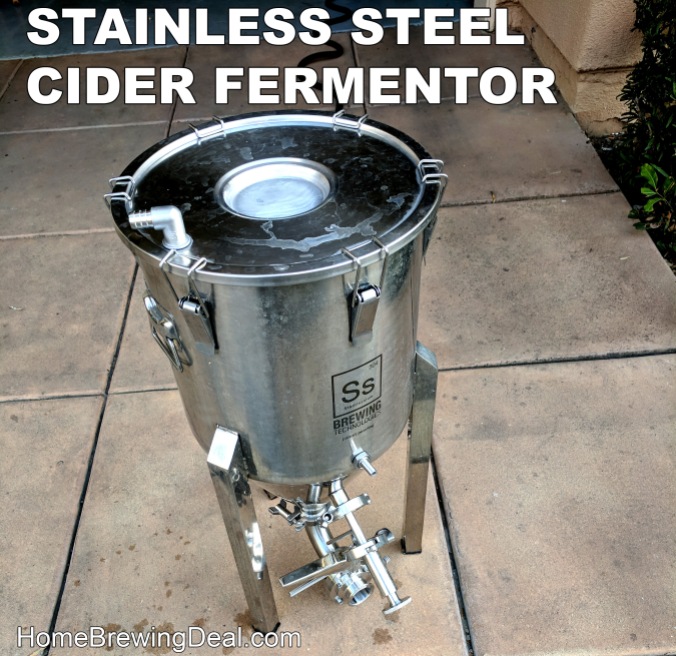
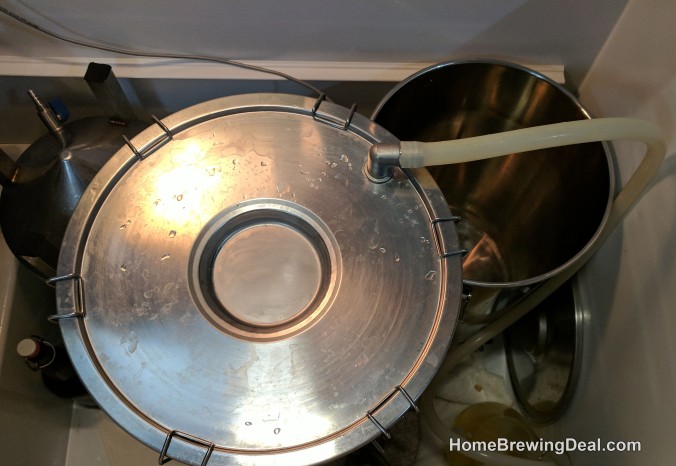
The cider fermentor that I use is a 7 gallon stainless steel fermenter which I first cleaned with PBW and then sanitized with Star San. If you are looking for an incredible cider fermenter, I highly recommend this one and you can get it for a great price and with free shipping. You can also use plastic fermentation buckets, or glass carboys as cider fermentors. If using a glass carboy, just be very careful not to add boiling hot liquids as the fermentors can shatter making for an incredibly dangerous situation! There are also stainless steel 7 gallon brew bucket fermenters for just $229.


Stainless Steel Cider Fermenter #cider #fermenter #fermentor

Stainless Steel Cider Fermenter #cider #fermenter #fermentor

STEP 4 – Add Your Apple Cider Ingredients To The Fermentor


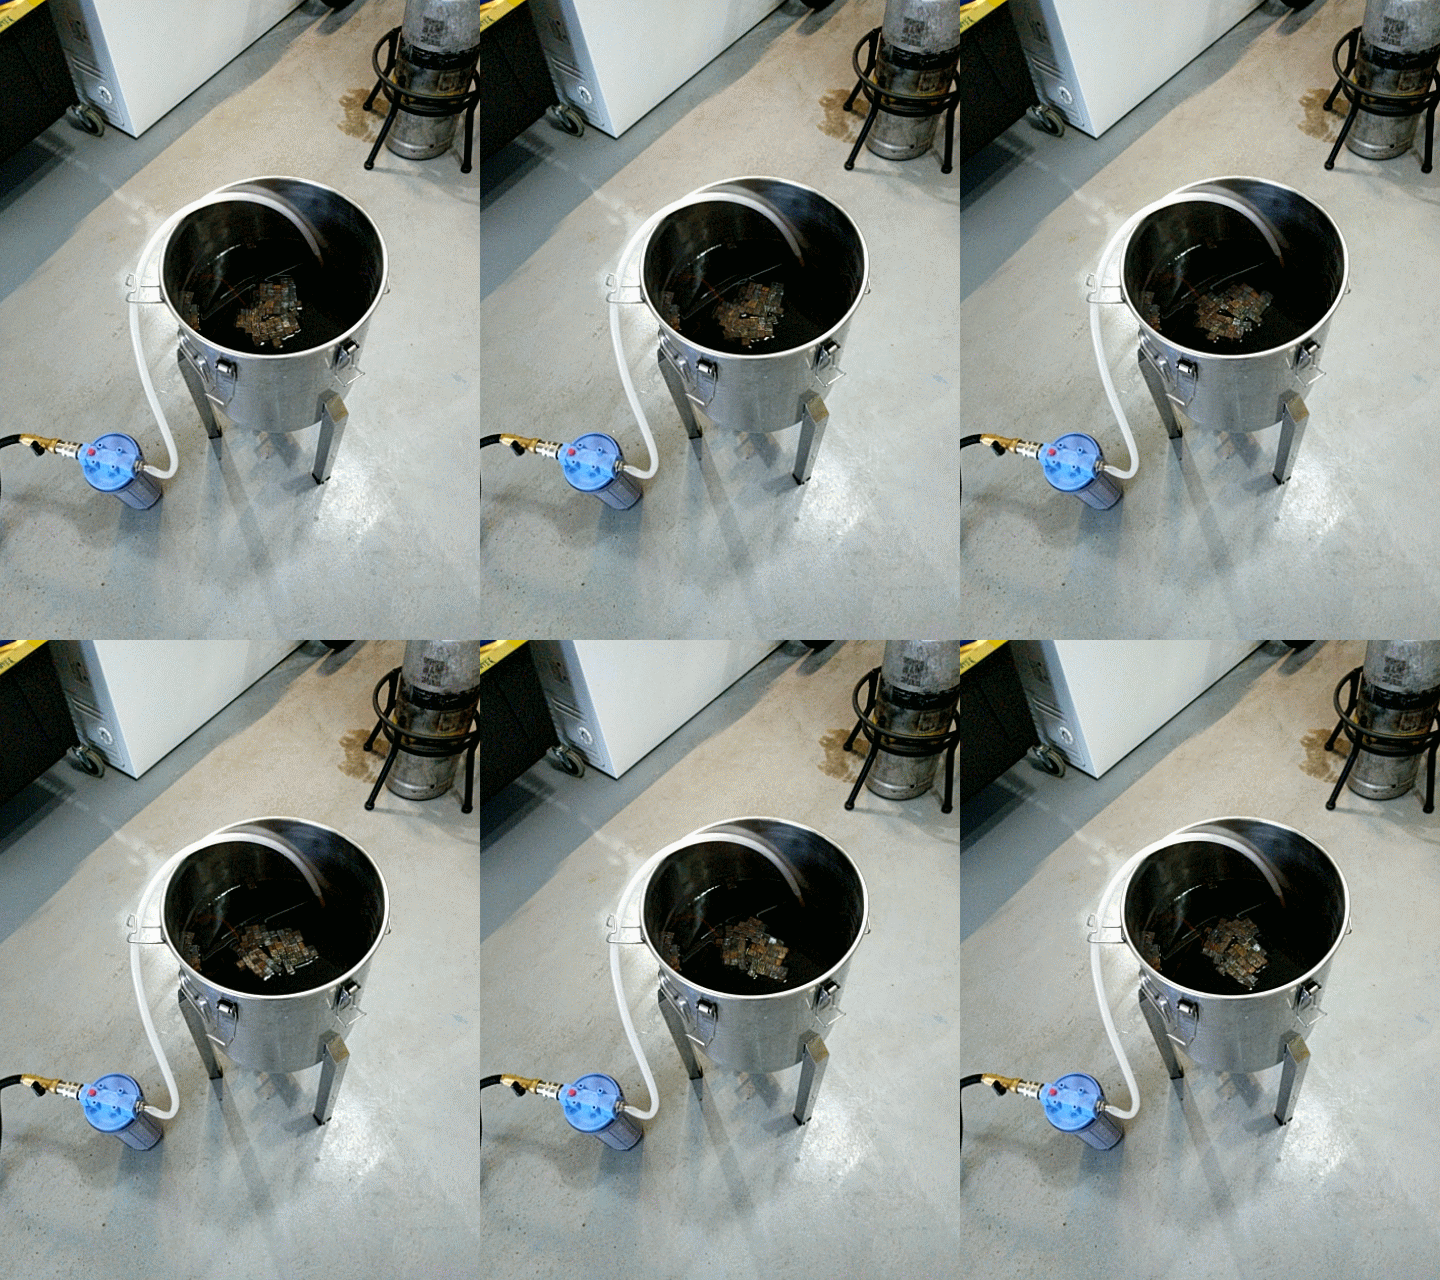
The next step is to add your different home cider ingredients to the sanitized fermenter.  I first added in my boiled water and dextrose solution.  Be careful as this still may be very hot!  Next I added in the package of apple cider concentrate that came with my kit.  Make sure that you sanitize the outside of the package and even the scissors that you use to open the kit, just to be safe! After pouring in the mixture, rinse the pouch with filtered and dechlorinated water (I use a carbon filter and seen in the photo, which highly reduces chlorine levels); and add the water to the fermentor.  I then tossed in my oak cubes and filled the fermentor to the 5.5 Gallon level. The home made cider directions recommend filling it to the 6 gallon mark, but as I mentioned earlier, I like to live on the edge! You will want to make sure that your fermentor can support at least 7 gallons if not more!  Keep in mind, the more sugar you add and the less water you add, the stronger your cider will be!  So use caution!


Animated Gif On Making Hard Cider At Home #hard #cider #home #brewer #making #how #to

Animated Gif On Making Hard Cider At Home #hard #cider #home #brewer #making #how #to

STEP 5 – Check Your Cider Temperature


Yeast is a delicate and will parish if the temperature of your cider is too high! The ideal fermentation temperature for cider is between 65F – 70F.  So, cool your cider down to no more than 70F before you add your yeast to the cider mixture. You also do not want your temperature too low or else the yeast will not activate, so try to get it above 65F.  I use a converted chest freezer with a digital temperature controller as a fermentation chamber so that I can keep a stable fermentation temperature.  If you do not have access to one, do your best to keep your cider fermentor in an area that has a stable temperature of approximately 67F.  Keep in mind that the fermentation process generates heat and your cider will be warmer than the ambient temperature of the room that the fermentor is residing in.

STEP 6 – Add Your Yeast To The Cider


Next add your yeast to the fermentor! The fermentation process for you cider will take about a week to complete, but may take more or less time depending on a variety of factors including temperature, quantity of yeast, health of yeast, quantity of available sugar and type of yeast.


Brewing Hard Cider #cider #brewing


You should begin to see fermentation activity within 24-48 hours of pitching your yeast.  If bubbles are not forming in your air lock, your yeast may not have been healthy enough for fermentation and you will need to add new healthy yeast as soon as possible.  It is always wise to keep some dry cider yeast on hand, just in case this occurs.  Dry cider yeast is far more durable than liquid cider yeast.


Fermenting My Hard Cider #cider #fermenting #fermenter #fermentation

Fermenting My Hard Cider #cider #fermenting #fermenter #fermentation


After the fermentation is complete almost all of the sugars will have been converted over to alcohol and the cider will be very dry.  So at that point I will add a sweetener to the cider that the yeast in unable to convert.  This will help to intensity the apple flavors in the cider.  At that point I will also keg and carbonate my cider and it will be ready to server approximately 7 days after that.  Once completed I will post the results!


You can purchase everything that you need to make cider at home at MoreBeer.com.  Here are links to some of the items I use! MoreBeer is great because you get free shipping on any order over $59, they have some of the lowest prices available on home cider making ingredients and cider making equipment and incredible customer service!


Cider Making Ingredient Kits
7 Gallon Stainless Steel Cider Fermentor
Cider Yeast
Cider Oak Cubes


Russian River Brewery Review

Russian River Brewing, Santa Rosa, CA

Russian River Brewing, Santa Rosa, CA


I recently had a chance to revisit Russian River Brewing when some friends and I decided to take a trip to Northern California to visit a few breweries.  For those of you who are not familiar with the Russian River name, they brew such popular craft beers as Pliny the Elder, Pliny the Younger, Blind Pig, Beatification, Consecration, Supplication and Sanctification.  In the craft brewing world they are perhaps the most highly regarded US brewery and for good reason.


Russian River

Russian River Brewery Review

In my opinion what makes Russian River so great is their uncompromising commitment to making the best craft beer possible.  What I just stated above sounds like something you would read on any brewery’s marketing material, but in this case I truly feel that that the statement is true and deserved.  Consider this, Russian River servers up flights of beer that consist of up to 16 beers on tap.  As you make your way through the overwhelming diversity of styles and variations, in addition to becoming intoxicated you are awe struck at how one brewery could master so many styles.  Not one of their beers are good, they are all either great or exceptional.  Sure, you may not be a fan of a few of the styles, but it is still a great beer for that type.  One of my friends ordered a porter for his second beer and I remember thinking, you are at Russian River, home of the best IPA’s and Sours in North America, why in the world did you just order a porter. So I asked him if I could try it before I passed judgement on his sanity and I was shocked by how fantastic it was.  If they make mistakes, they certainly do not serve the questionable beer to their customers.  I have never received a beer from them that was cloudy when it should have been clear, a beer that was still when it should have been carbonated, a beer that was bitter when it should have been subtle or a wild ale that was more skunk than funk.  That is what I mean when I say that they do not compromise when it comes to their beer.


If you are ever in the Santa Rosa area and love beer, you really owe it to yourself to stop by the Russian River Brewing Company.  There will be more than likely be a wait, parking will probably be difficult to find and the bar will probably be crowded, but it will all be worth it!


Russian River Brewing Company

Russian River Brewing Company

MoreBeer Ultimate Sparge Arm Review

MoreBeer.com Ultimate Sparge Arm Review:


Before purchasing the MoreBeer Ultimate Sparge Arm, I had tried a variety of other sparge arms including a halo style sparge arm, and a spinning fly sparge arm. I was intrigued by the Ultimate Sparge Arm because it is constructed of stainless steel, had no moving parts, and no pin holes to get clogged. And with a name like the “Ultimate Sparge Arm,” I had very high expectations for it!


Thankfully, I was not disappointed. The Ultimate Sparge Arm is very durable; the stainless steel is thick, and the welds on it are clean and professionally made. Additionally, it is a very versatile sparge arm. It has an adjustable height knob that allows you to set the outflow in a variety of positions to avoid hot side aeration. Since the Ultimate Sparge Arm does not depend on a rotating arm to disperse the water or wort, it allows you to set the flow rate at any level, which is a real benefit over my previous fly sparge arm. It also includes a stainless steel ball valve so that you can easily make fine adjustments to the flow rate. The Ultimate Sparge Arm also includes a mounting bolt that allows you to quickly and easily mount it to the side of your mash tun.


Perhaps my favorite thing about the Ultimate Sparge Arm is that it permits you to recirculate wort through it and use it in a RIMS or HERMS system, which is something that I would never have been able to do with any of my previous sparge arms. Using the sparge arm in conjunction with my march pump, burner and digital temperature gauge, I was able to easily convert my all grain system over to RIMS which made my brew day a lot simpler when it comes to regulating my mash temperature. The Ultimate Sparge Arm is one of the best home brew purchases that I have ever made, and I highly recommend it.


 Click Here for the MoreBeer.com Ultimate Sparge Arm.


The MoreBeer.com Ultimate Sparge Arm hooked up to my Blichmann 20 gallon mash tun.

MoreBeer Ultimate Sparge Arm Review

MoreBeer Ultimate Sparge Arm Review

Blichmann Home Brewing Kettle Review

Blichmann BoilerMaker Home Brewing Kettle Review:


I have been using 3 Blichmann BoilerMaker 20 gallon home brewing kettles to conduct my all grain brewing for about 2 1/2 years now. In that time I have not been dissatisfied with my purchase even once. The kettles are durable, rigid, versatile and problem free.


One of the things that I like most about the Blichmann brewing kettles is that they come ready to go out of the box with a sight gauge, thermometer, and draw tube/valve. The kettles are engineered beautifully so that you can easily break the parts down with a couple of tools for easy cleaning.

The 20 gallon kettles are very rigid, and I never have to worry that one of the handles is going to bust off while I am cleaning it. Blichmann also sells the kettles with easy add-ons like the hop blocker for the boil kettle, and the false bottom for the mash tun, which I both recommend. They also have an optional sparge arm, which I do not use but others speak highly of.


The only downside for the Blichmann home brewing kettles is the price. They are by no means the cheapest brewing kettle on the market, but in my opinion, a brewing kettle is not one of the items that you want to skimp on. If you treat them well, they should last you a lifetime and be well worth the extra money.


 Click Here to see a selection of Blichmann Home Brewing Kettles.


Blichmann Brew Kettle

Blichmann Home Brewing Brew Kettle

Johnson Controls Digital Temperature Controller – Fermentation Thermostat Review

Johnson Digital Temperature Controller – Fermentation Thermostat Review


The Johnson Controls digital temperature controller can be used for a variety of home brewing functions. You can use it to keep an exact temperature in your kegerator, keezer, fermentation refrigerator or freezer, or it can be used to activate a heating element such as a heating pad to increase temperatures if needed.


I have my Johnson Controls Digital Temperature Controller hooked up to my fermentation freezer. It comes fitted with a wired temperature sensor that I attach to the side of my carboy or secondary fermentation keg. I insulate the side of the temperature sensor that is exposed to the air with some foam insulator and tape it to the side of the fermenter so that I can get as precise of a temperature reading as possible. There are also thermowells available that allow you can get an exact temperature reading of the inside of the fermenter.


One of the things that I like most about the Johnson Controls Digital Thermostat is that it allows you to set a temperature variance and a anti-short cycle delay. This comes in handy as a method for preventing the compressor on my freezer from constantly turning on and off, which could cause damage to it over time. I have it set to keep the temperature of my freezer within a 2 degree variance of my target fermentation temperature, and it works perfectly. The freezer rarely activates more than once every 30 minutes or so, even during primary fermentation. If it is detects a fault, I have it set to disable the freezer so that I do not freeze and destroy my batch of beer and blow up some of the bottles I have stored in there as well. I try to check on it everyday just to make sure all is well.


The Johnson Controls Digital Temperature Controller has met and exceeded all of my expectations, and I give it a 5 out of 5 stars review.


If you are interested in buying a Johnson Controls Digital Thermostat, they can be found here:

 Click Here for the Johnson Controls Digital Temperature Controller


Photo #1 of the Johnson Controls Digital Thermostat

Johnson Controls Digital Fermentation Temperature Controller

Johnson Controls Home Brewing Digital Temperature Controller \ Thermostat


Photo #2 of the Johnson Controls Digital Temperature controller being run into my fermentation freezer where it is attached to one of the glass carboys to regulate the temperature of the fermentation.

Home Brewing Beer Fermentation Freezer

Home Brewing Beer Fermentation Freezer


Sparge Arm

A sparge arm is a piece of brewing hardware used to flush the grain bed with hot water in order to extract any residual sugars left behind in the mash. The sparge arm water needs to be in the range of 168° F in order to liquefy the remaining sugars; if the temperature exceeds 170° F, the brewer many risk pulling excess tannins from the grain husks and causing off flavors and chill haze in the finished beer. Sparge arms are typically constructed of copper, stainless steel, or plastic, and should have some form of flow control so that the approximate flow rate can be set to keep pace with the flow of wort leaving the mash tun (or lauter tun) and heading to the boil kettle.


Below are three examples of home brewing sparge arms. From left to right, there is a MoreBeer.com “Ultimate Sparge Arm,” a rigid copper sparge arm, and a fly sparge arm with a stainless bracket. I have used each one of these and am currently using the MoreBeer.com sparge arm due to its versatility, which allows me to integrate it into my RIMS system.


You can purchase the sparge arms here:

Home Brewing Sparge Arms

Home Brewing Sparge Arms